When Should Drafts Lead You to Inspect Your Manor Home’s Insulation?
If you feel a draft, you have an air leakage problem. While many homeowners assume that cold air in the…



You set the thermostat to 72, yet one bedroom stays stuffy while the room down the hall feels like a refrigerator. Upstairs is always hotter in July. Your heating and cooling bills keep climbing, but nothing you do seems to change it. When we walk into a home like that, we can usually guess the problem before we look: the house is fighting the weather instead of blocking it. Ending that fight is exactly what residential insulation is designed to do. Insulation is the material in your attic, walls, and floors that slows heat movement and keeps the air you paid to condition inside where it belongs.
The stakes are bigger than comfort. According to the U.S. Energy Information Administration, space heating and air conditioning made up 52% of the average household’s energy use in 2020, more than every appliance, light, and gadget combined. If your home leaks heat, more than half of your energy spending leaks out with it. The problem is common, too. ENERGY STAR reports that 9 out of 10 homes in the U.S. are under-insulated.
Most people think of insulation as a winter product. It isn’t. Heat always moves toward cold, which means it flows out of your house in January and pushes into it in August. Insulation slows that flow in both seasons. A well-insulated home stays warmer with less heating in winter and cooler with less air conditioning in summer.
Air leaks make the problem worse. ENERGY STAR notes that if you added up all the holes and gaps in a typical home’s outer shell, the combined leakiness would equal leaving a window open every day of the year. Insulation and air sealing work as a pair: sealing stops moving air, insulation slows conducted heat.
The benefits reach beyond energy bills. Sealing leaks and adding insulation can also:
Building science sounds intimidating, but it comes down to three kinds of heat movement.
Conduction is heat passing directly through solid material. Touch the exterior wall on a cold day and feel the chill; that’s conduction. Dense materials move heat faster than fluffy ones.
Convection is heat carried by moving air. Warm air rises, leaks through ceiling penetrations, and escapes into the attic. This is why drafty houses feel impossible to keep comfortable.
Radiation is heat traveling as infrared energy, like sunlight warming a roof deck. In hot climates, radiant heat from a 150-degree roof drives attic temperatures up and pushes heat down through the ceiling.
Insulation works by trapping air in tiny pockets, which slows all three types of heat movement. That ability is measured in R-value. Residential insulation r-value measures how well insulation resists heat traveling through it, and the higher the R-value, the better the thermal performance, according to ENERGY STAR. Two identical R-values insulate equally well, no matter the material.
R-value targets depend on where you live and where in the house the insulation goes. The U.S. is split into eight climate zones, with zone 1 the warmest (South Florida, Hawaii) and zone 8 the coldest (far northern states and Alaska). The table below shows the ENERGY STAR recommendations for retrofitting existing wood-framed homes, based on the 2021 International Energy Conservation Code.
| Climate Zone (warmest to coldest) | Attic: If Uninsulated | Attic: If You Have 3-4 Inches | Wood-Framed Floor |
|---|---|---|---|
| Zone 1 | R30 | R25 | R13 |
| Zone 2 | R49 | R38 | R13 |
| Zone 3 | R49 | R38 | R19 |
| Zones 4A and 4B | R60 | R49 | R19 |
| Zones 4C, 5, and 6 | R60 | R49 | R30 |
| Zones 7 and 8 | R60 | R49 | R38 |
For walls, the same guidance calls for R5 insulative sheathing in zone 3 and R5 to R10 in zones 4 through 8 when siding is replaced. Basement and crawl space walls call for R13 to R19 batts or R5 to R15 of sheathing depending on zone. Your local building department can confirm your exact zone, or we can tell you in one phone call.
Key Takeaways: Heat moves by conduction, convection, and radiation, and insulation slows all three. R-value measures that resistance, higher is better, and your climate zone sets the target. Most homes need far more attic insulation than they have.

Every insulation material has a personality. Here’s an honest rundown from jobsite experience.
Batt and roll insulation is the pink or yellow blanket material sold in rolls. It fits between joists and studs, it’s the most DIY-friendly option, and it holds its shape in open cavities. The catch: performance lives and dies by the fit. Gaps, tucks, and compression quietly slash its effectiveness.
Blown-in loose fill, usually cellulose or fiberglass, is sprayed into attic floors with a blowing machine. It drapes over framing, wires, and irregular spaces, which makes it the fastest way to top up an under-insulated attic. It can settle slightly over the years, and a thick, even depth matters more than the label suggests.
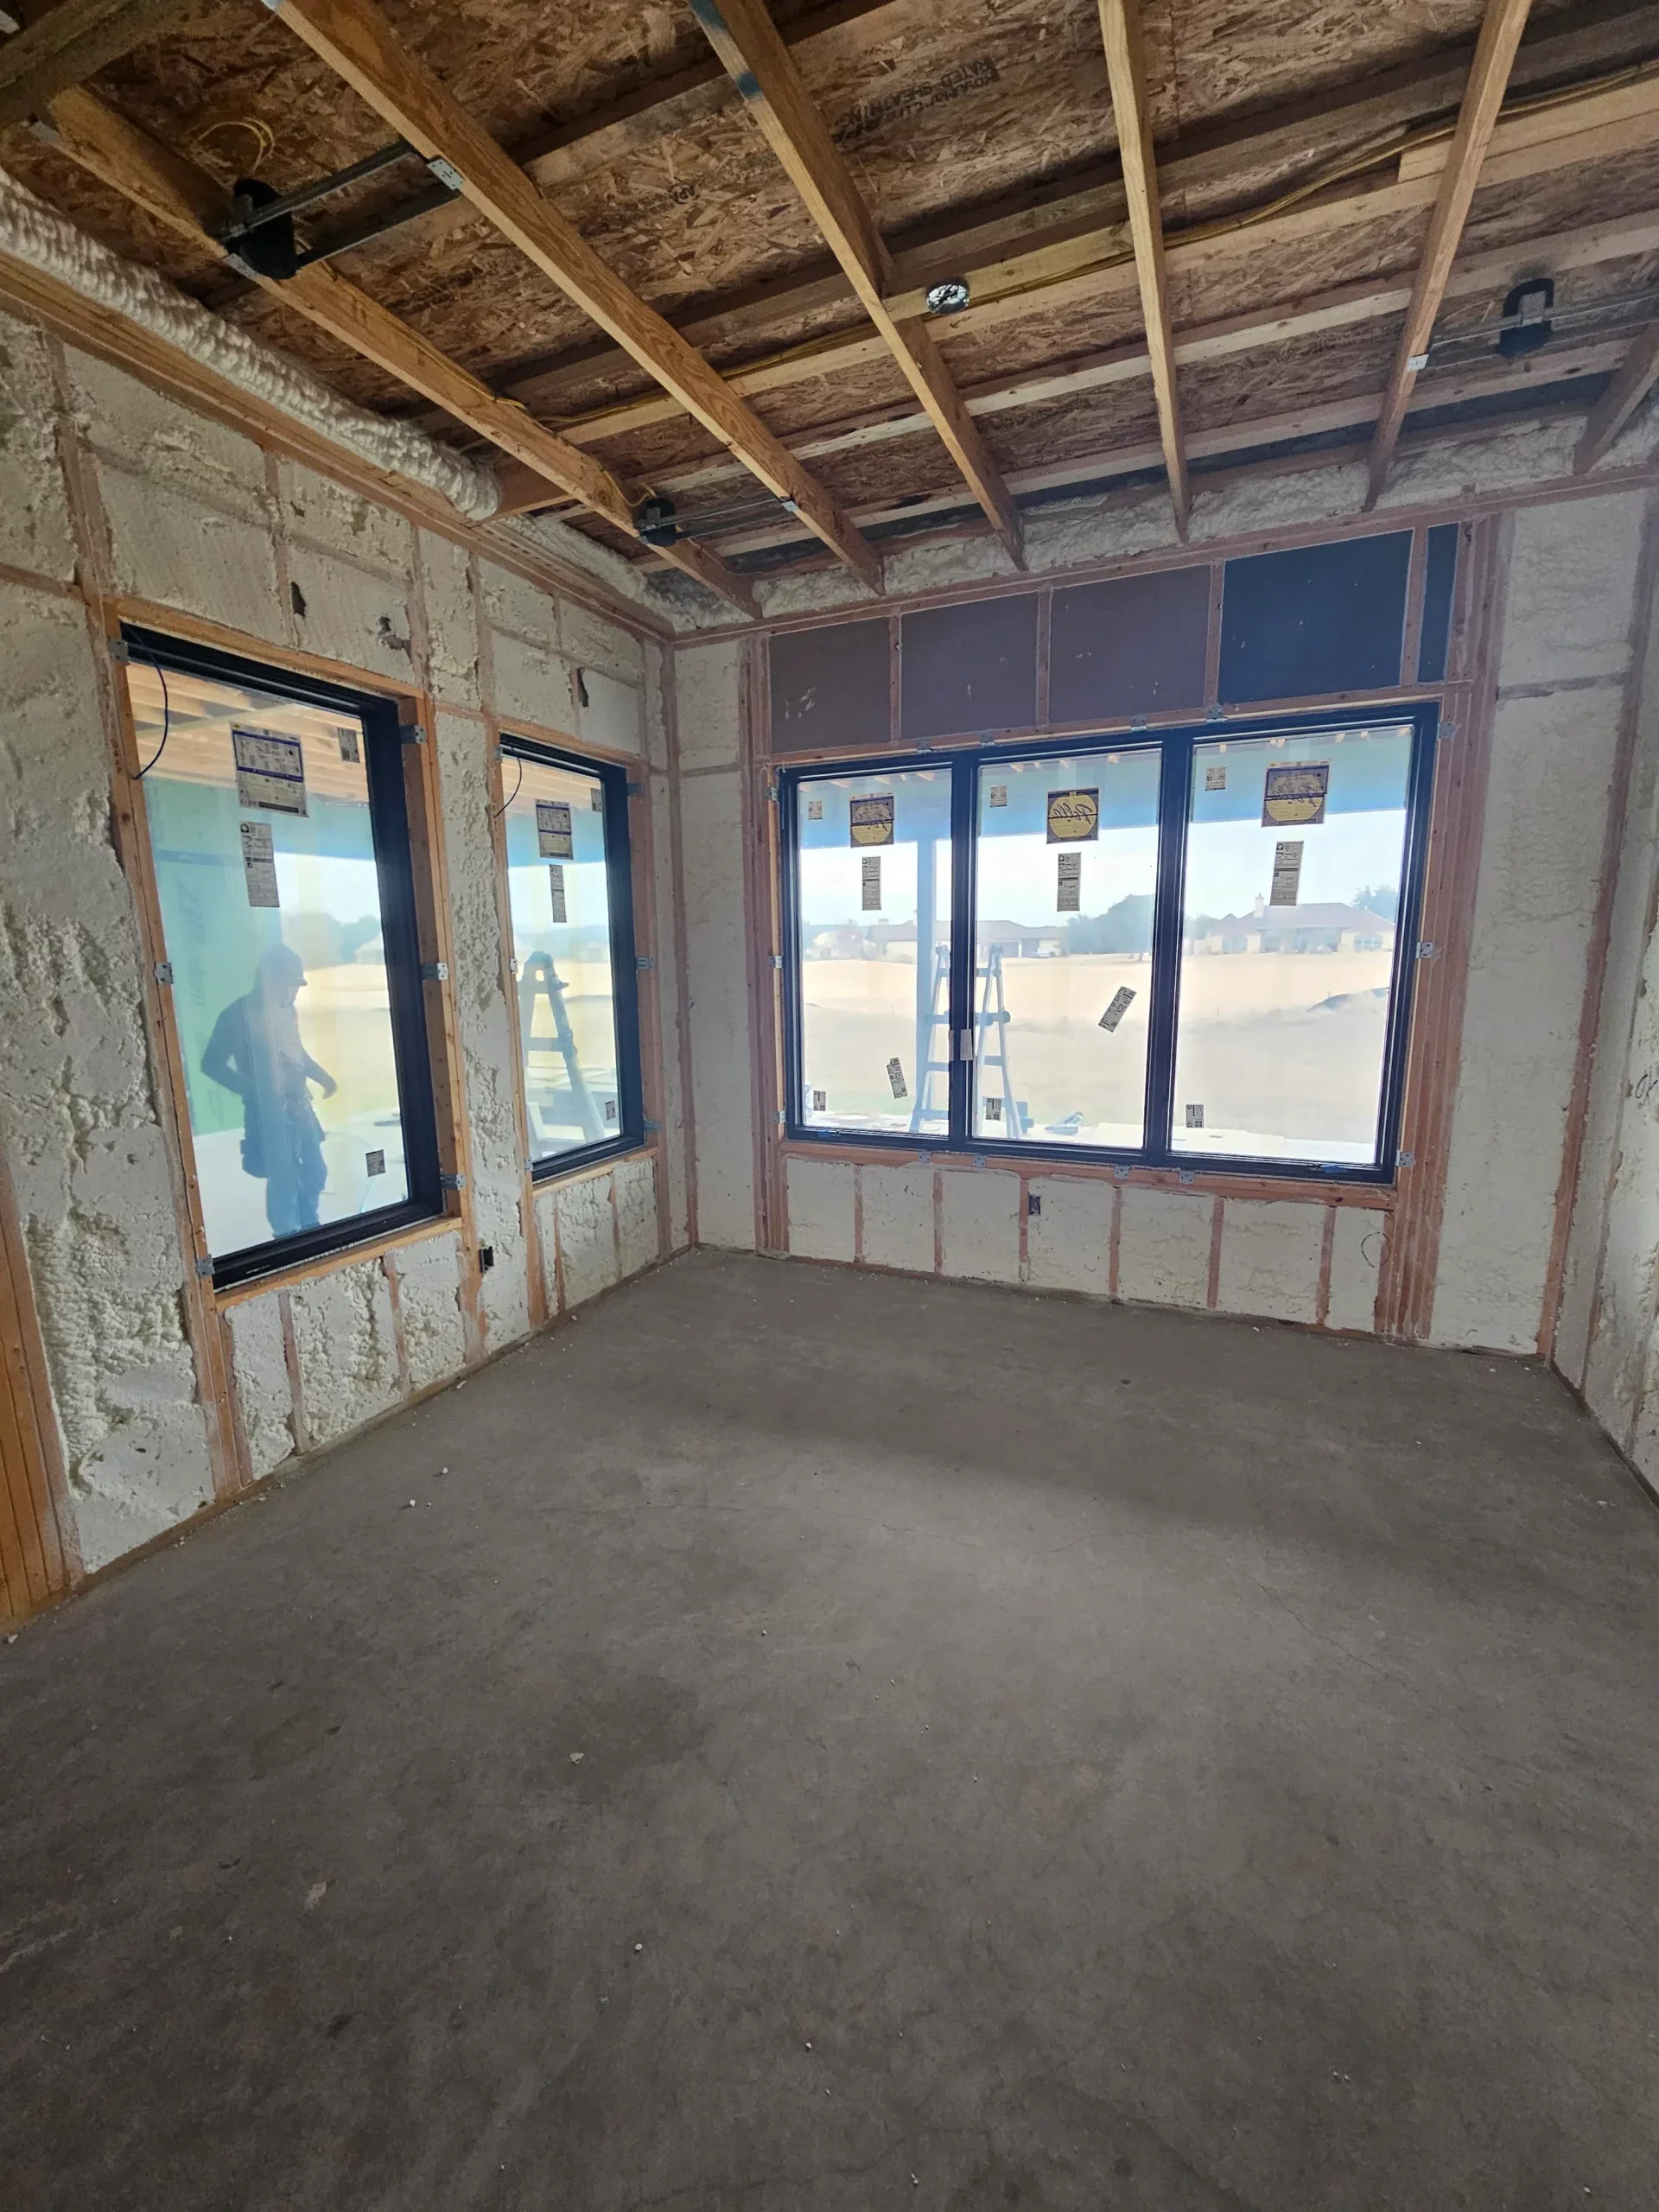
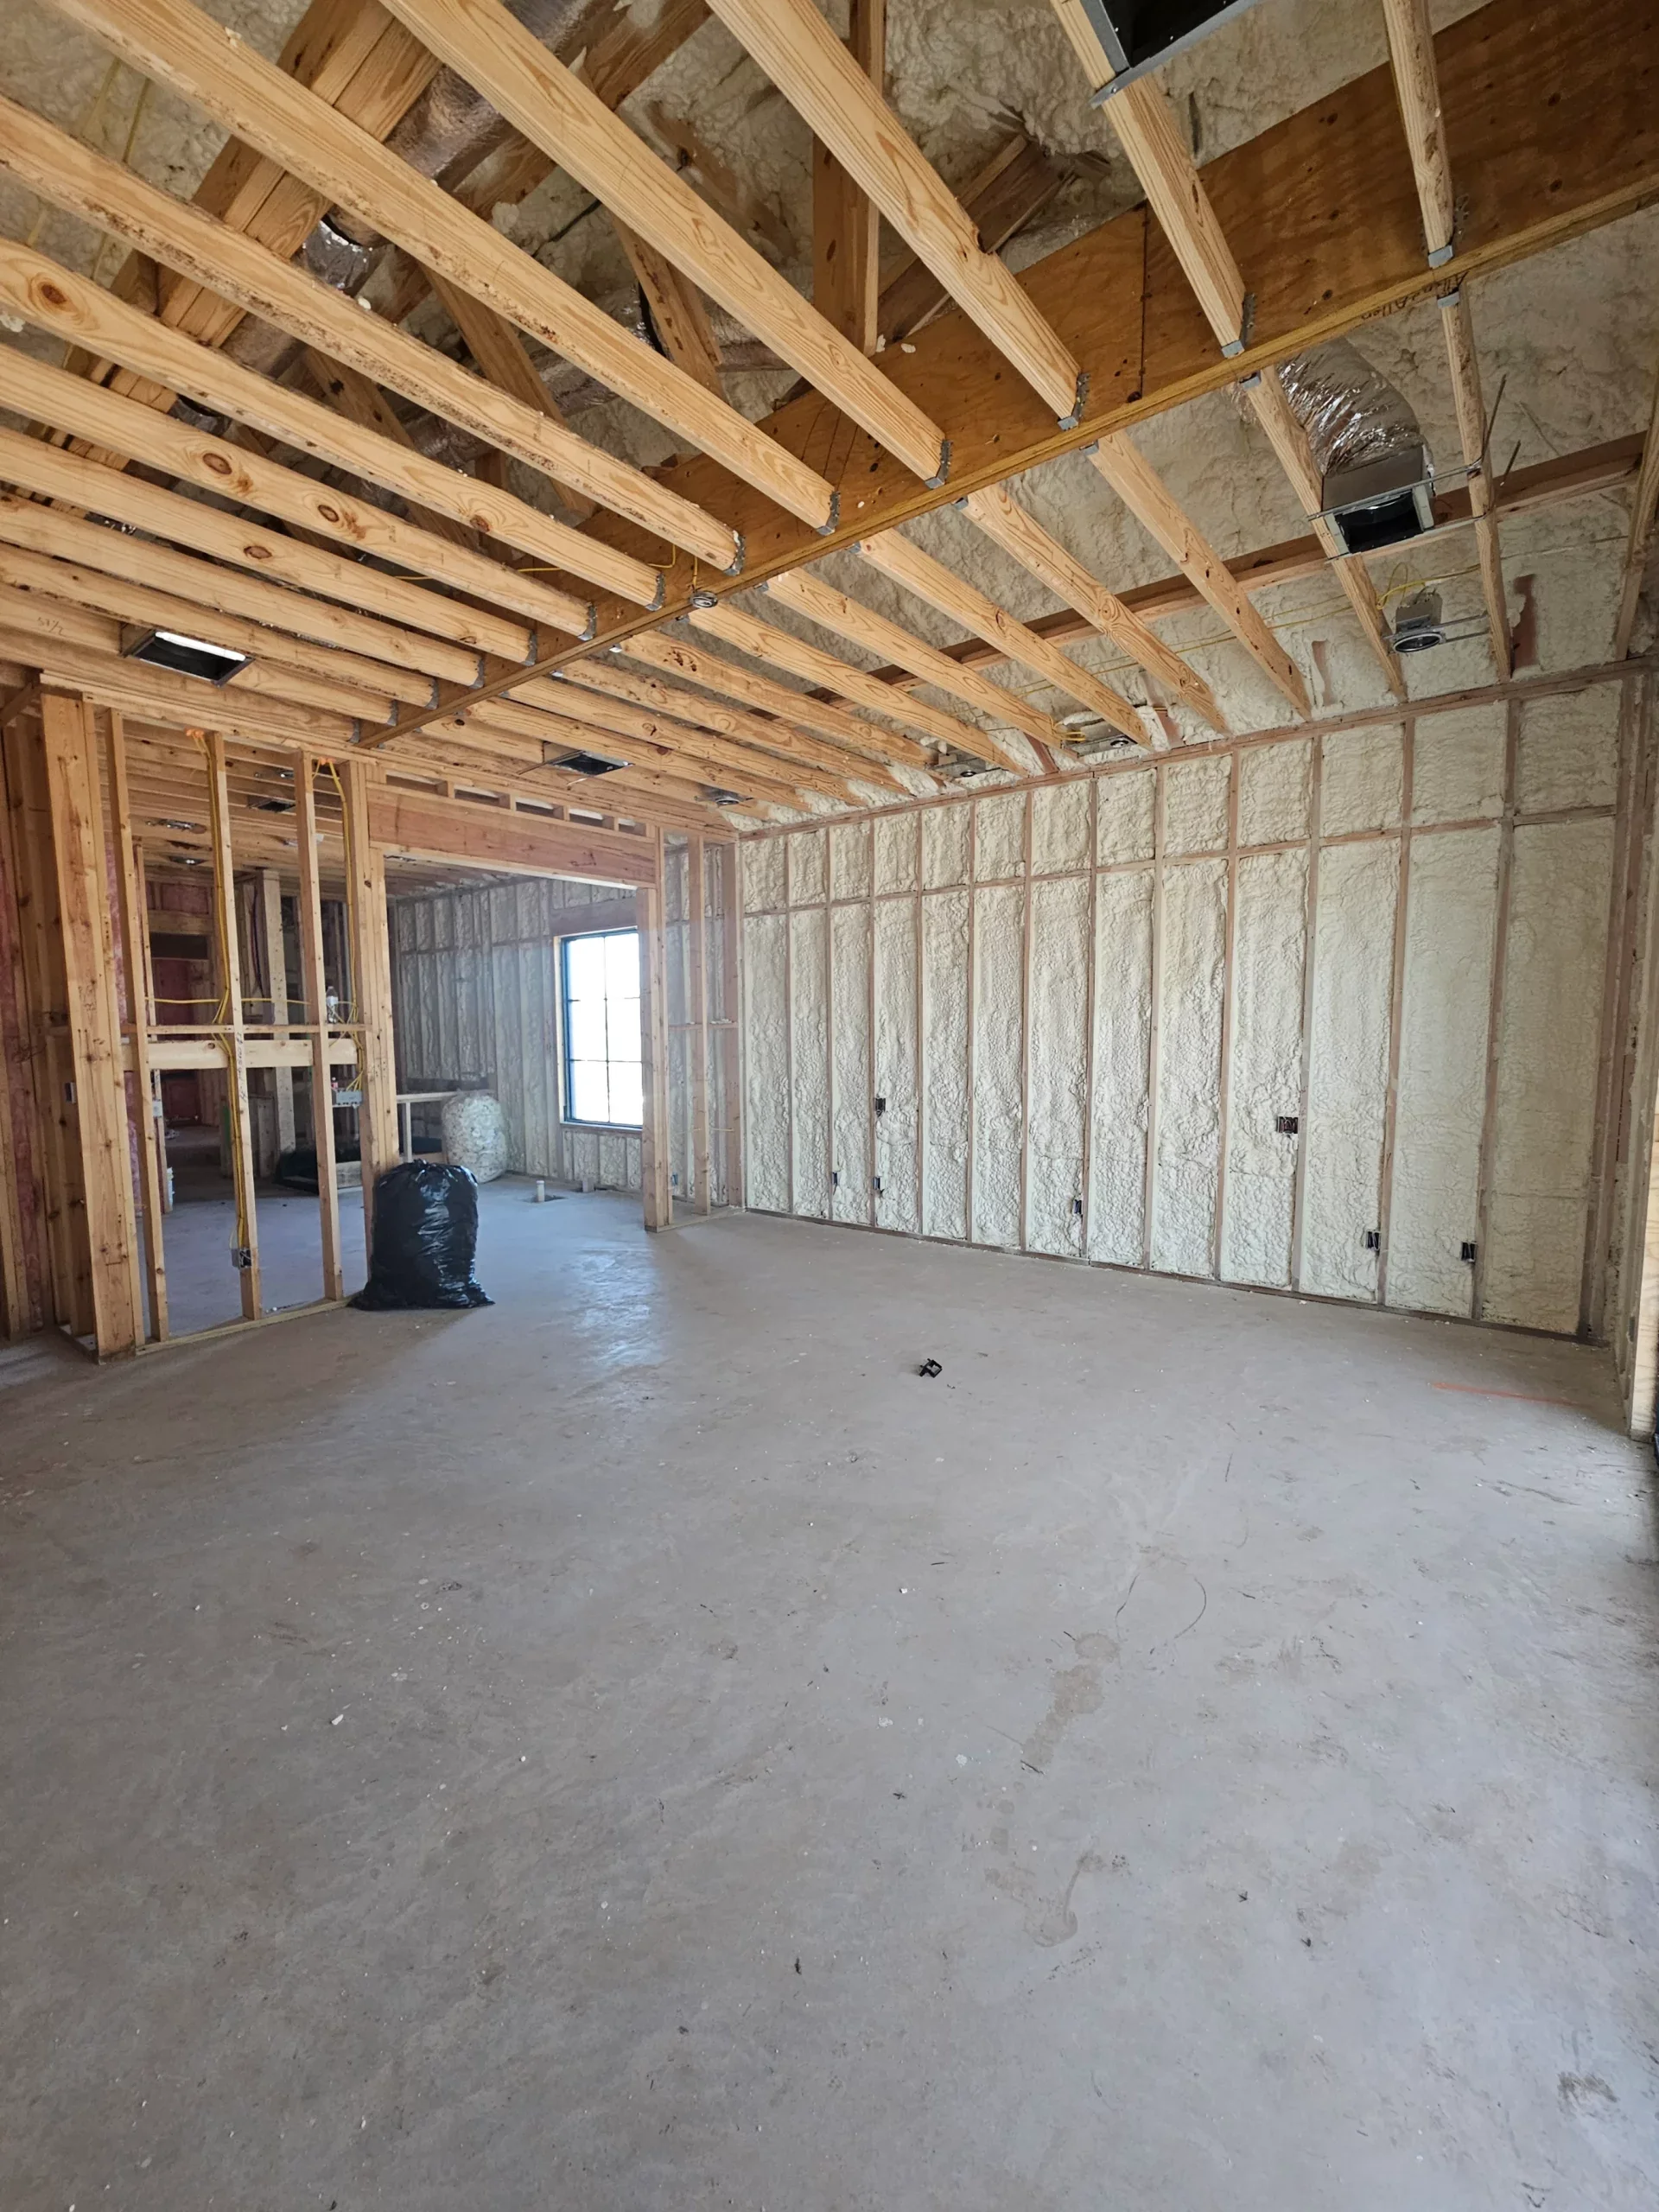
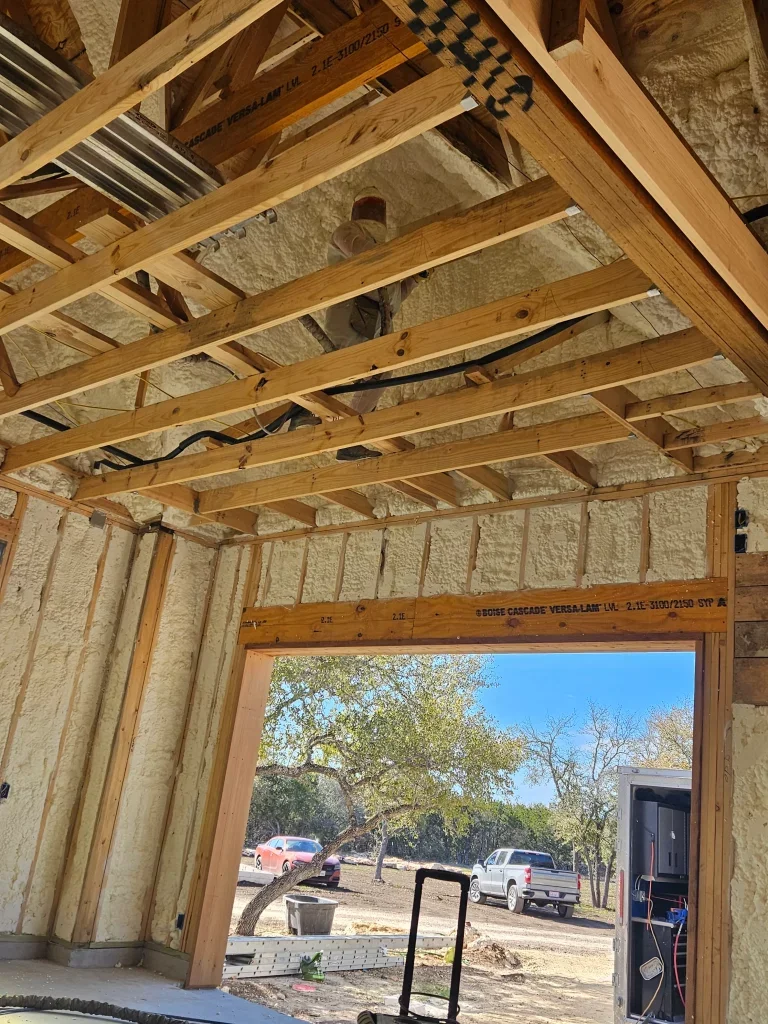
Open-cell spray foam expands on contact to roughly twice its sprayed size, filling gaps and sealing air leaks as it insulates. It’s soft and flexible, adds sound dampening, and suits walls and rooflines.
Closed-cell spray foam is dense and rigid. It delivers the highest R-value per inch of any common material, blocks both air and moisture, and even stiffens the assembly it’s sprayed into. That makes it ideal for rim joists, crawl space walls, and thin cavities where space is tight. Both foams demand professional equipment and trained installers; this is not a weekend product.
Rigid foam board comes in panels used as continuous exterior sheathing, basement wall lining, and under siding. It keeps a steady R-value, resists moisture, and adds a thin but valuable thermal break over framing.
Mineral wool comes as batts or boards. It shrugs off heat and fire, blocks sound well, and doesn’t sag in walls. It’s heavier and stiffer to cut than fiberglass.
| Type | Best For | Strengths | Watch Outs |
|---|---|---|---|
| Batt and roll | Open walls, floors, attics | DIY-friendly, holds shape in cavities | Gaps and compression cut performance fast |
| Blown-in loose fill | Attic floors, enclosed wall cavities | Covers odd shapes, fast over old layers | Needs a blowing machine, can settle |
| Open-cell spray foam | Walls, rooflines, sound control | Expands to seal air leaks as it insulates | Must stay dry, professional install |
| Closed-cell spray foam | Rim joists, crawl space walls, tight spaces | Highest R per inch, blocks air and moisture | Professional install only |
| Rigid foam board | Exterior sheathing, basement walls | Steady R-value, moisture resistant | Joints need taping, indoor covering rules |
| Mineral wool | Fire-prone areas, noisy rooms | Fire resistant, sound blocking, no sag | Heavier and harder to cut |
There is no single best insulation. The right answer is the right material in the right location, and many homes use two or three types.
Knowing the materials is half the game. Knowing where they go is the other half.
The attic comes first. Heat rises, so the attic floor is where your home loses and gains the most. ENERGY STAR calls the attic one of the largest energy-saving opportunities in any house. If you only fund one project, fund this one.
Exterior walls hold cavity insulation, usually batts in older homes or dense-pack loose fill in retrofits. Continuous foam sheathing on the outside adds a layer that framing can’t conduct heat through.
Floors over unconditioned spaces need attention too. A floor above a garage or vented crawl space gets cold in winter, which is why barefoot mornings hurt.
Crawl space and basement walls benefit from insulation and moisture control together. Sealing and insulating these walls keeps the whole lower level, and the floors above it, warmer and drier.
Rim joists, the band of wood where the house sits on the foundation, are a classic leak point. A two-inch shot of closed-cell foam usually handles them neatly.

Homes announce their insulation problems. Watch for these symptoms, which ENERGY STAR lists as signs an attic project is worth doing:
You can run a simple check yourself. Step into the attic with a flashlight and a ruler. If the insulation sits level with or below the tops of the floor joists, you don’t have enough. If you can see the joists, the attic is under-insulated, full stop. Measure the depth and compare it to the R-value targets for your zone.
Expert Tip: Don’t trust your eye for depth. Blown-in insulation settles unevenly, and what looks like a decent blanket from the attic hatch is often thin near the eaves. Take depth measurements in five spots, including the corners, and average them.
For a complete picture, a professional energy audit uses a blower door and infrared camera to show exactly where your home leaks. It turns guesswork into a prioritized to-do list.
A good outcome starts long before anyone unrolls a batt. This is the sequence we follow on our own jobs.
Step 1: Assess. Confirm your climate zone targets, measure existing depth, and decide which areas need work. Note any trouble spots such as moisture, pests, or old wiring.
Step 2: Air seal first. The EPA recommends sealing attic air leaks before adding attic insulation, because insulation slows heat but does not stop moving air. Focus on big openings: dropped soffits over cabinets, gaps where walls meet the attic floor, and penetrations for wires, pipes, and chimney chases.
Step 3: Fix safety and moisture issues. Before any insulation goes in, address conditions ENERGY STAR flags for professional correction: wet or damp insulation, moldy or rotted framing, bath or dryer vents exhausting into the attic, and little or no attic ventilation. Never disturb old vermiculite insulation until a lab confirms it’s asbestos-free, and keep insulation clear of knob-and-tube wiring.
Step 4: Choose the material for each location. Loose fill for the attic floor, batts or dense pack for walls, foam or board for foundations and rim joists. Mixing types is fine; you can add loose fill over existing batts and vice versa.
Step 5: Install with care. Lay a second layer of batts perpendicular to the first, unfaced, to cover the joists. Keep insulation at least three inches from non-IC-rated recessed lights, use metal or mesh barriers around them, and install soffit baffles so vents keep breathing.
Step 6: Verify. Measure final depth against the target, walk the space for gaps, and mark the depth on a stake so future checks are easy.
Expert Tip: Photograph the attic after air sealing and before insulation goes in. A visual record of every sealed penetration becomes gold when you sell the house or diagnose a future problem.
We fix a lot of well-meant insulation jobs that fail on details. Avoid these six:
Key Takeaways: Fit and air sealing decide whether insulation performs. Seal leaks first, protect ventilation and fixtures, and keep vapor retarders where they belong. Careful coverage beats fancy material every time.
Expert Tip: If blown insulation looks fluffy and airy right after installation, test the depth against the bag count or the R-value chart on the bale. Over-fluffed fill settles below spec within a year.
Results show up in three ways: your bills, your comfort, and your home’s durability.
On bills, the numbers are well documented. EPA estimates cited by ENERGY STAR put the average savings at 15% on heating and cooling costs, or 11% on total energy costs, from air sealing plus adding insulation in attics and floors over crawl spaces and basements. The same program pegs combined savings at up to 10% of annual energy bills for a typical seal-and-insulate project.
On comfort, expect steadier temperatures between rooms, shorter furnace and AC cycles, and fewer drafts. In snowy climates, watch the roof; shrinking ice dams are proof the ceiling plane is sealed.
To verify, compare utility bills against the same months last year, adjusting for weather. A blower-door retest shows the improvement in hard numbers. Many utilities also offer rebates for energy audits and insulation work, so ask before you start. And the improvement lasts: the EIA credits better building insulation, among other factors, for the steady drop in average energy use per U.S. home over recent decades.
Expert Tip: Have your attic rechecked after any service visit. Cable, satellite, and solar installers have a habit of pushing insulation aside, and a five-minute look keeps your R-value intact.
You now know more about residential insulation than most homeowners ever learn. Here’s the short version: know your climate zone target, seal air leaks before adding anything, choose the right material for each location, protect ventilation and fixtures, and verify the finished depth. Start small if you like. Peek into the attic this weekend with a ruler, walk the house feeling for drafts, and pull out last year’s bills. Every finding on that list points you to the same first project: the attic.
Some projects deserve a professional eye, and we enjoy those conversations. Our team at Spray Foam Tech has insulated homes of every age and layout, and we’re glad to review your attic, answer material questions, or give you a clear plan for your home. Call us at (737) 777-9590 or email oldworldtx@hotmail.com to talk through your project. There’s no pressure, just straightforward advice from people who spend their days in attics and crawl spaces so you can spend yours in comfort.
Yes, in most cases. You can add loose fill over batts or batts over loose fill. Only remove old material if it’s wet, moldy, pest-damaged, or vermiculite of unknown origin.
Open-cell is softer, expands more, and absorbs sound. Closed-cell is dense, resists moisture, delivers more R-value per inch, and adds stiffness. Closed-cell suits rim joists and crawl spaces; open-cell suits walls and rooflines.
Absolutely. Heat flows into your home in summer just as it flows out in winter. Attic insulation slows that heat gain, which lightens the load on your air conditioner.
A accessible attic with batts or rented blowing equipment is a realistic DIY project, and ENERGY STAR rates it moderately difficult. Hire professionals if access is tight, moisture exists, or wiring and venting need correction first.
Batts, loose fill, and foam can last for decades when they stay dry and undisturbed. Plan a depth check every few years and after any attic work.
Not always. If walls are open anyway, upgrading insulation is easy and cheap relative to the rest of the project. Otherwise, blown-in retrofit insulation fills closed wall cavities without demolition.